Wednesday, December 13, 2023

Southern Pacific A-50-11 Model


It has been a seeming eternity since I last posted. For those interested in the why of that, please scroll to the bottom of this post. I recently released a kit for the SP's A-50-11 auto cars. Details about the prototype can be found in this previous post. I won't go into a full blow-by-blow of the assembly, but I do want to highlight a few things about the kit and building of it and I will also discuss the finishing, as I know many of you are always interested in painting and weathering materials and techniques.


The model features some liberal use of etched metal for various details. I can't say that I have fully reached a happy medium of where and when to use etchings, but I suspect that after the forthcoming Milwaukee single sheathed auto car kits, I will have a pretty solid sense of what works and what does not. The photos above illustrate some of that usage. I am quite happy with the underframe. The diagonal braces are a little fiddly to assemble, but I think they are quite good (although the actual arrangement is my best estimation from only a single general arrangement drawing of the car) and the rest of the underframe exceeded my expectations. In particular, the etching of parts to make the brake lever clevises came out better than I expected. This feature will be used on all future kits. I am also mostly happy with the latitudinal running board supports, the grabs, and the brake staff pivot at the bottom of the end. I believe the etchings really accentuate the model and achieve a level of fidelity I could not with other materials.

One other detail that turned out extremely well is the roof. The prototype used the Murphy Solidsteel roof with fairly delicate seam caps where the panels were joined and flat panel sections (if you're not familiar with this style of roof, think of a Murphy rectangular panel roof without the raised, rectangular corrugations in the panels.) The master for this kit is based upon a 3D printed part. The roof is the expert work of Ryan Mendell of National Scale Car. This model would not be possible without his contribution. The results are great. Many thanks!


On to the finishing of the model. I am a strong proponent of blasting metal and engineering plastic parts prior to painting in order to ensure good paint adhesion. I blasted this model with 600-grit aluminum oxide (source for the powder in the link) followed by washing with a soft toothbrush and liquid dishwashing detergent. I primed the model with Badger's grey Stynylres primer. I followed that with Star Brands STR-30 SP/UP Freight Car Red, thinned with their private label thinner, except on the trucks and wheelsets which were sprayed with Tamiya flat black. I then applied a coat of Quick Shine floor polish to ensure a gloss coat for the application of the decals. All three of these were applied with an airbrush. I applied the decals, including a few chalkmarks, and sealed them with another coat of Quick Shine followed by a coat of Tamiya clear flat. I did leave off the reweigh, repack, and brake test stencils and then masked those areas prior to weathering so that those would appear to be freshly painted patches.

Not the greatest image, but this is a "FRAGILE FREIGHT" placard that I had printed on a sheet run by PDC. It is an actual image of a Milwaukee Road placard

For weathering, I brushed on two washes of extremely diluted artists' oils with odorless mineral spirits. The first was Titanium White and the second was a blend of Burnt Sienna and Raw Umber. I sealed these with another flat coat, except this coat was Mr. Color clear flat as I had run out of Tamiya (I used Mr. Color Leveling Thinner... note that these are solvent-based as opposed to the Tamiya, which seems to be an alcohol-based acrylic.) I next applied PanPastels Raw Umber and Payne's Grey Extra Dark, mostly in streaks to the sides and overall on the roof, underframe, and trucks/wheelsets. I sealed these with another coat of flat, except on the sides, where I applied Quick Shine, since I needed to add the reweigh, repack, brake test, and chalkmarks, as well as the placard and route car board decals. After adding these decals, I sealed everything with a clear flat coat. I added the trucks and couplers and the finished result is as you see herein. I am extremely happy to have a model of this unusual prototype.

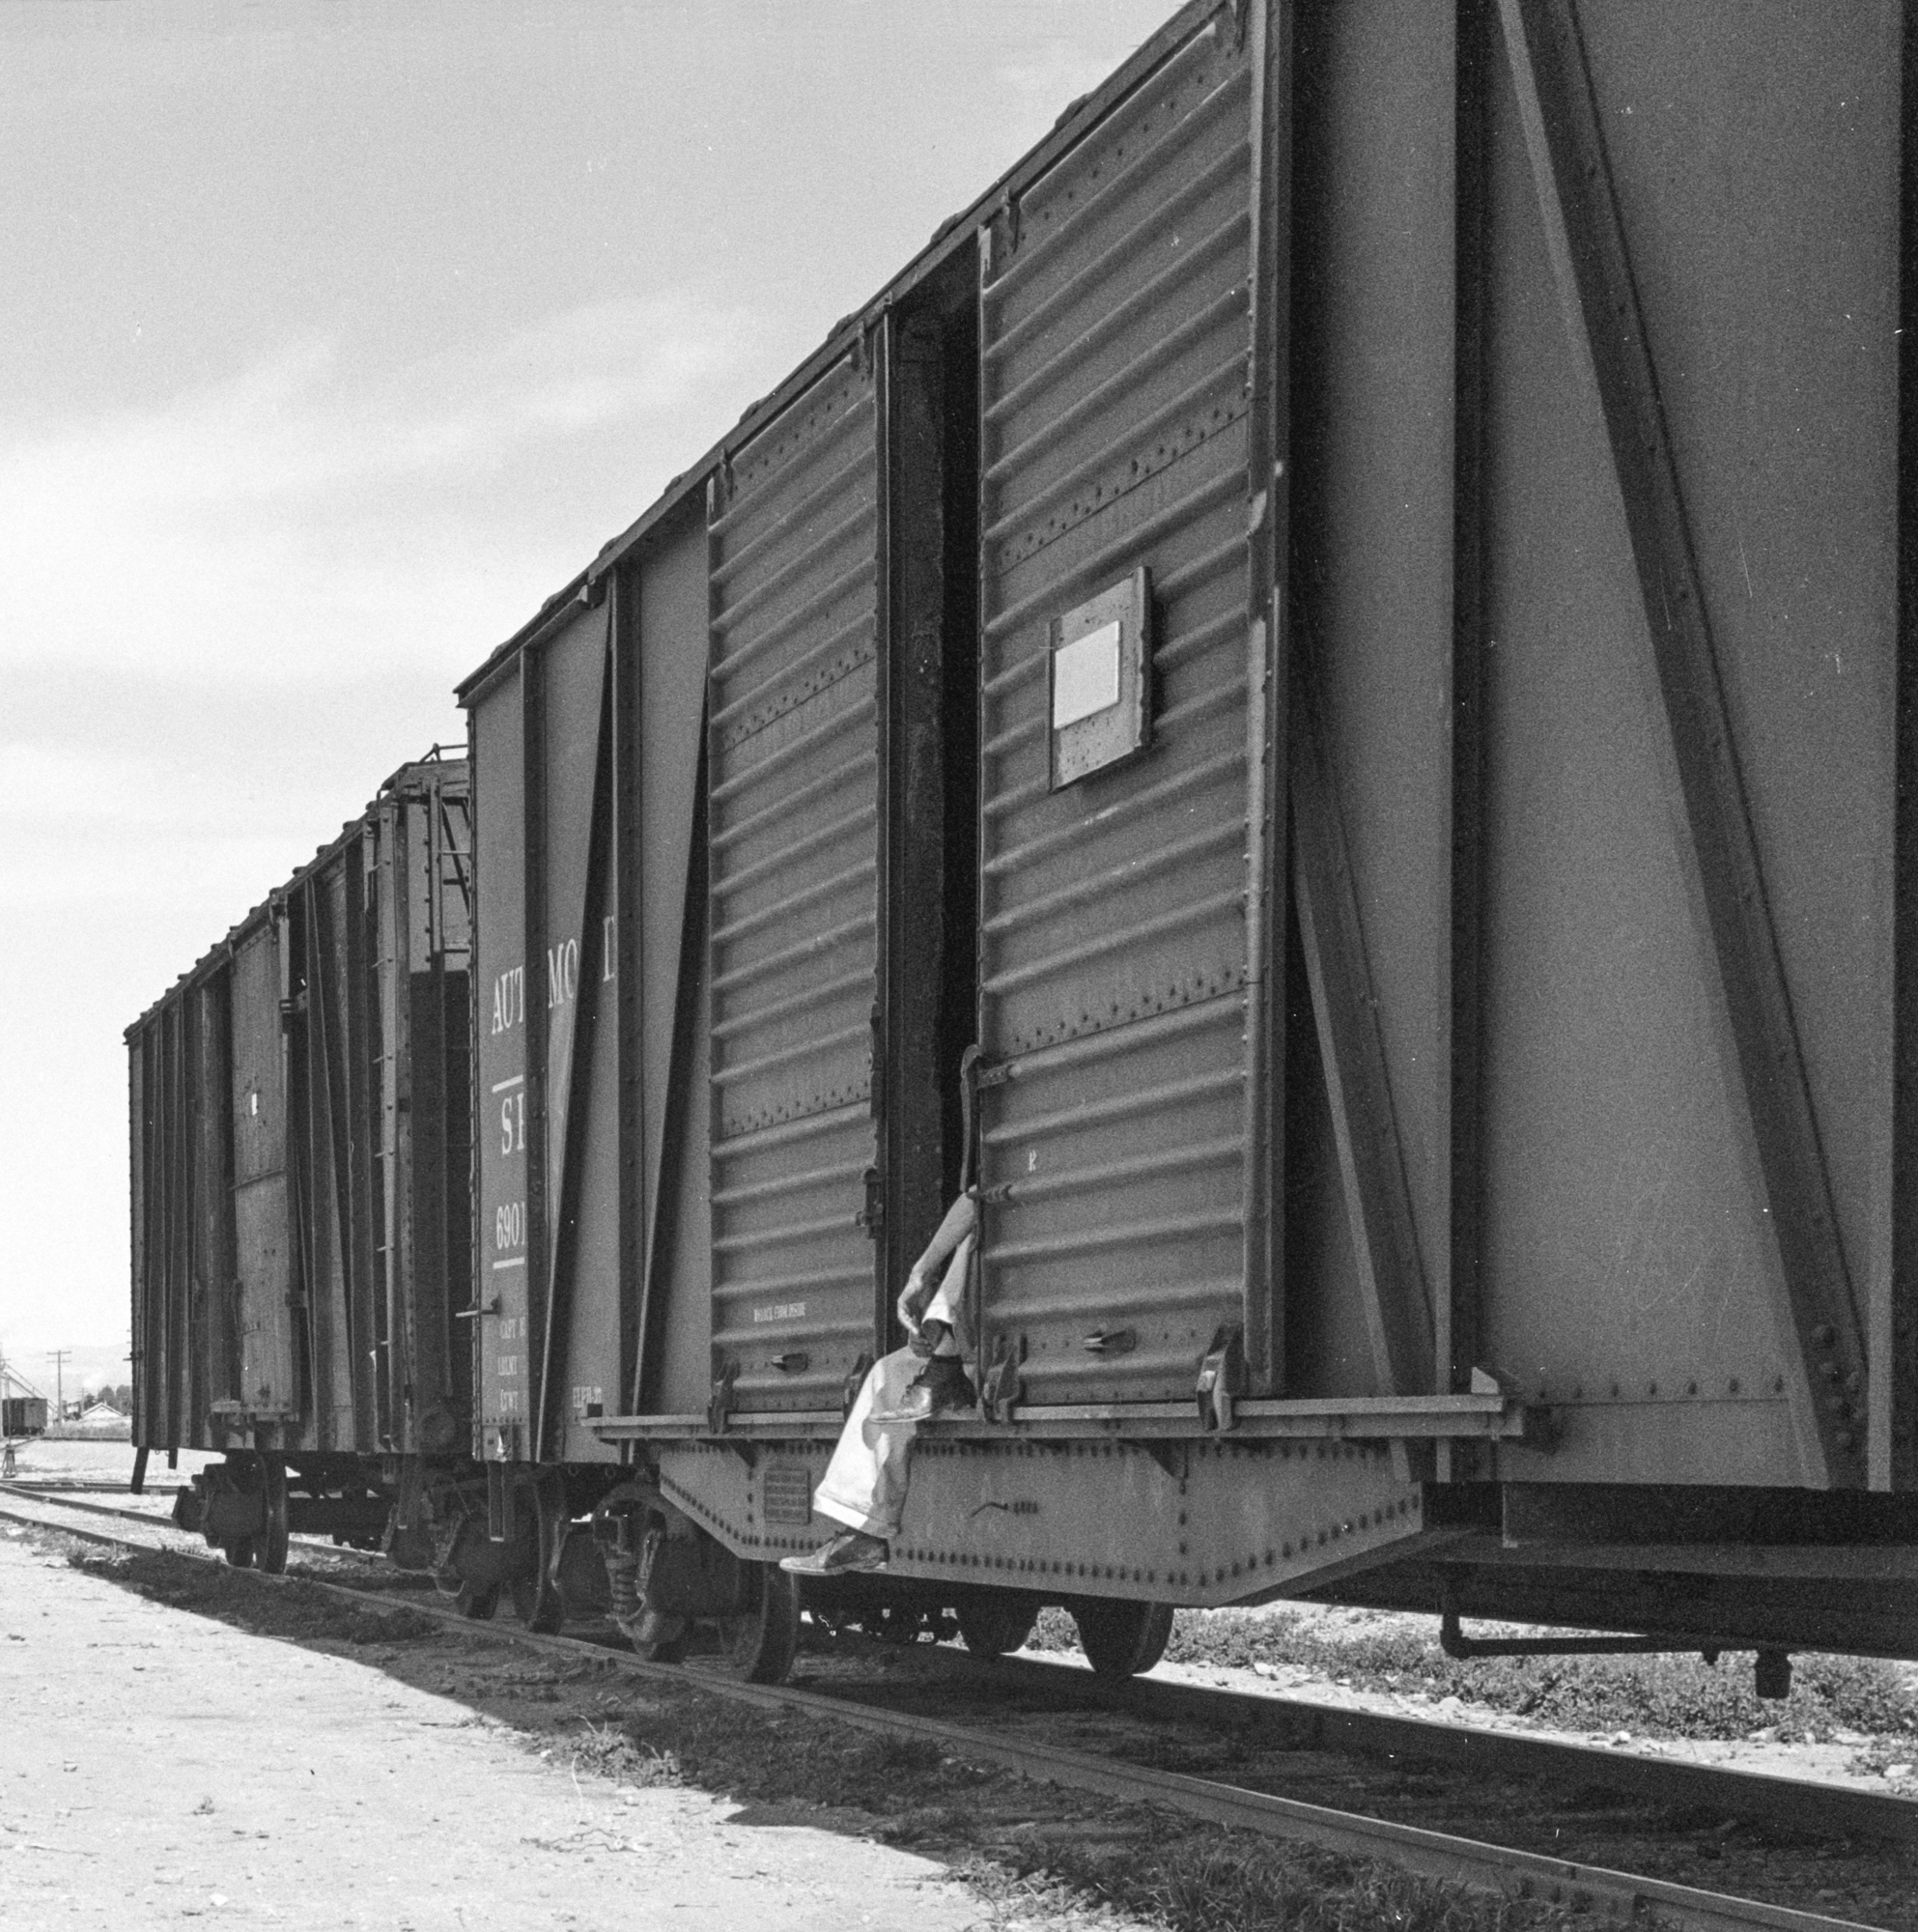
The decal on the route card board (with the '12') is from the Owl Mountain Models "Route & Grade Card Goodies" decal (#1220) 

Why the relatively long hiatus from posting? I received a summons for jury duty and showed up at the appointed time and place in late October. I fully expected the usual few hours of waiting followed by a dismissal after my services were found to be unneeded. However, over the next few days, I went through the process of jury selection, at which time I was seated as Juror #5 in a murder trial. The trial concluded last week. As you can imagine, it was a major commitment of time, but was also a hugely impactful emotional experience. I am glad to have done it, but I also do not wish to ever do it again. When abstract becomes reality, you quickly discover that determining the fate of another person is not nearly as easy as portrayed in film and television. Onward...

Tuesday, October 31, 2023

Southern Pacific A-50-11 Automobile Car


SP 69439 was an A-50-11 photographed in San Diego by Col. Chet McCoid. Note that the placard boards on the right door and the end had been lowered. Dec. 26, 1954. Bob's Photo

The Southern Pacific rostered three classes of all-steel "single sheathed" automobile cars. They're not technically single sheathed cars since they had steel sheathing with wood lining, making them double sheathed, but they have visible structural members, lending the traditional look of a single sheathed car. 

While the subject of this February, 1939 FSA-OWI image by Dorothea Lange was the two itinerants, it provides an excellent view of the Dreadnaught end door applied to the A-50-9 class automobile cars. Calipatria, Imperial Valley, California, Library of Congress Call Number: LC-USF34-019076-E


The first group was class A-50-9, built in 1928 by Tennessee Coal & Iron, 250 cars in series 68980-69229. They were characterized by steel sides with visible structural members in a Howe truss arrangement, long support sections under the Youngstown steel doors, large fishbelly center sill underframes, Murphy Solidsteel roofs, Dreadnaught ends, including end doors in the A end, and Dalman two-level trucks with Barber lateral motion devices.

This Dorothea Lange photo from the same family of images as the one shown above affords a good view of the support applied to the side sill, below the doors. Calipatria, Imperial Valley, California, Library of Congress Call Number: LC-USF34-019076-E


A-50-10 SP 69304 was photographed in Alameda (Oakland area) California in 1947. Note the hinges at the left corner of the car, for the Dreadnaught end doors. Howard Ameling Collection

In 1930, Pressed Steel built 150 cars that were similar to the previous class, down to the end doors, but notably had a different support section under the doors and a different underframe arrangement. This group, nos. 69230-69379, were assigned to class A-50-10.

At the same time, Pressed Steel also built 150 cars without end doors that were otherwise identical to the A-50-10. These cars with tight ends were assigned to class A-50-11, car nos. 69380-69529. Prototype photo at the top of this post.

Given their steel construction, these cars were relatively long-lived on the SP, with close to two-thirds making it into the 1960s in revenue service. Why am I sharing all this info? Well, I happen to be constructing the pilot model of a forthcoming A-50-11 kit as I type this. The one-piece body is shown below.


These kits will be offered in the next couple weeks and include the following:

  • one-piece cast resin bodies and resin details
  • many etched metal details
  • Tahoe Model Works Dalman two-level trucks with Barber lateral motion detail
  • 0.088" tread width wheelsets
  • Decals printed by Cartograf from my artwork
  • Kadee scale couplers
  • Tichy KC and AB brakes and wire

Friday, October 20, 2023

Combination Murphy Rectangular-Diagonal Panel Roof Prototype Cars


Detroit & Toledo Shore Line 3206 was renumbered from the original 5000 series. Note the mix of rectangular and diagonal panels in the roof. eBay slide purchase

A few years back, I documented my efforts to kitbash a roof that incorporated both Murphy rectangular and diagonal panels. That was subsequently offered as a separate part (some still available here) and is also being integrated into what will be a full-blown resin offering for the SP's A-50-17. I have compiled what I am certain is not an exhaustive list, but is nonetheless a good first step of prototypes that used this unusual roof. Here is the list as it stands and I can update as new information comes to light (please use the comments section below if you know of other prototypes!)

cropped from Know Your City no. 248, Southern Pacific Railroad freight yard between North Broadway and North Spring Streets with Los Angeles skyline in background. Los Angeles Times

RailroadSeriesBuild DateBuilderNotes
ATSF8000-84991951ATSFFE-28
D&TS5000-50991955Greenville
NJI&I3300-33991951AC&F
NKP86000-861991949AC&F
NKP86200-863491955Greenville
SP190000-1904991950-1951SPA-50-17
SP192000-1929991950-1951SPA-50-17
SP193000-1939991954-1955SPA-50-18
WAB19800-199991953AC&F

Santa Fe Fe-28 was also renumbered from the original 8000 series. eBay print purchase

SP A-50-18 was part of two classes of SP cars that used the combination rectangular and diagonal panel roofs. San Diego, Sept. 5, 1955, Col. Chet McCoid photo, Bob's Photo


Thursday, October 19, 2023

Chicago and North Western 40' Riveted PS-1 Auto Car


The right side of the model

I finally found a few brief blocks of time to weather my model of CNW 57868, a riveted 40' PS-1 auto car. My build is the pilot model for the Speedwitch kit (more are coming) for these cars. An aside is that this is the most ambitious offering to date that I have offered for Speedwitch due to the large amount of etchings used to replicate the details of the prototype. It is one of the most challenging kits I've built, but not really more than some of the kitbashes I've done. Enough about the kit...

and the left side

Before painting, I blasted the model with 600-grit aluminum oxide. I painted the car with Badger Stynylrez grey primer followed by black for the ends, roof, underframe, and trucks. I violated the "rule" of painting light colors followed by dark because I knew that it would be easier to mask and paint the sides than the reverse. After applying masking tape, I touched up the areas of black overspray with more of the Stynylrez followed by Mig AMMO Dark Rust (no. 041), a good match for the CNW's freight car red. I applied a coat of Quick Shine to create a gloss surface for decaling. The decals, printed by Cartograf, went down flawlessly. I sealed them with a coat of Quick Shine followed by clear flat from Tamiya. All paints were applied with an airbrush.


As part of the finishing process, I applied some chalkmarks both before and after weathering. As I wanted a car that was weathered, but not derelict-looking, I applied a wash of Titanium White oil paint heavily diluted with odorless mineral spirits followed by a coat of Tamiya clear flat. I then added a coat of Bragdon Powders Grimy Grey, which is fairly light once sealed with a flat coat. I cleaned the truck wheel treads, added the couplers, applied paper routing instructions, and CNW 57868 was ready for service. I believe this is one of the finest resin kits I have built, although I am slightly biased


Wednesday, October 4, 2023

Rivet Counters!


“Rivet Counter” 

The term conjures different perceptions to many people in our hobby and like many things in our contemporary world, they are frequently highly polarized. “Damn rivet counters!” and “Those rivet counters are ruining the hobby!” or “If the rivet counters don’t stop, Rapido [or Tangent, Kadee, Atlas, ….] won’t make models for Santa Fe [or Pennsy, New Haven, Espee, B&O, …] any more” are common refrains, albeit what you have heard might be slightly paraphrased and include some additional, colorful adjectives. Well, as a rivet counter, I would like to provide some context (granted, it’s my own) and also correct a few (mis)perceptions.


First, what is a “rivet counter”? I don’t know of a dictionary definition, but I will provide what I believe is an adequate one. Rivet counters are railroad modelers who demand a high degree of accuracy and fidelity in the models they create. “Rivet counter” seems to apply primarily to rolling stock and locomotive modelers, although there are modelers of structures, vehicles and other subjects that fit the bill. And in certain instances, that does involve "counting" the rivets on a model.*


What is a “high degree of accuracy and fidelity”? That has many facets. Does the subject follow a known prototype? Are the features dimensionally accurate, within acceptable tolerances? Are the features the same as the prototype, e.g., does that model lettered for a C&O AAR box car that is supposed to have a Viking roof have a Murphy panel roof, making the roof inaccurate for the prototype it is lettered to represent? Is the lettering accurate, e.g., does that same C&O box car have a “3-46” reweigh date, but a ‘straight line “FOR PROGRESS”‘ emblem, making it an anachronism? The list is long, but the net goal is to replicate the prototype in miniature as accurately as possible, within the bounds of the materials used.

It is the last phrase in the previous sentence that I believe is where the conflict arises. The modelers of 50, 60, 70 or more years ago were constrained in ways that we are not. Styrene was not a readily available medium. Airbrushing to apply paint was not a common technique. Etching as a process was not available for modeling. Precision machining and injection molding were for highly specialized items and did not have the resolution we enjoy today. Resin casting and the materials to support it as a tool for creating models were not available. “Printed” details like rivets and other surface features that could be applied via decal backing did not exist. Finally, 3D printing and the world of possibilities it offers were a flight of fancy (and for many things they still are, but are coming!) Lastly, we have access to troves of information that were far more difficult to access in the bygone pre-internet or even early internet days. 

How does all this progress intersect with those “rivet counter” types? Over the past few decades, we have seen a dramatic shift in the accuracy and availability of railroad models of all types. We have specific cars and trains for passenger modelers, ready-to-run freight car models of railroad-specific (or a couple railroads or fleets like UTLX), and plastic or brass hybrid models of road-specific steam locomotives, to name a few. While some of the connections may be thin, I can draw a straight line to this phenomenon and it is the work of a devoted rivet counter and a manufacturer who was willing to listen and take the plunge. Circa 1994 Richard Hendrickson collaborated with Life-Like to create the freight car kits under the Proto 2000 moniker. In an unheard of move, the cars were only decorated for railroads that actually rostered the prototypes!** This was a huge shift, but the cars were extremely well received for their separate details and ease of assembly. At about the same time and soon thereafter, Branchline launched the Blueprint series and Kadee released their PS-1 (both through collaboration with Ed Hawkins, another rivet counter.) The shift to accurate models was in full swing and it was the result of prodding by rivet counters. Countless cars and locomotives later, we are enjoying the bounty of models. Even resin kits have evolved with markedly improved details and 3D printed cars are coming into their own.


A different misperception about rivet counters that I wish to dispel is that we are elitist, exclusionary, mocking, etc. I am unsure of the genesis of the idea, but some people have a sense that at any gathering of model railroaders, we wander around with some imaginary scorecard of things we see that we can ridicule or tear apart. This couldn't be farther from the truth. We do walk around, but it is to admire others' work and to discover new techniques to improve our own modeling. And if you think that rivet counters are an exclusionary bunch, attend an RPM. You will find a welcoming bunch accepting of all levels of interest in the hobby, eager to share information and stories about modeling, layouts, and the prototype. Come see for yourself.


So while you may not be a rivet counter and may shake your fist at their ilk, you are likely a direct beneficiary of the tenacity of rivet counters to get things right. The availability of high quality accurate models and troves of information is in no small part due to their desire to create accurate models and drag the rest of us along for the ride, be it in the aisles of a hobby shop or at an RPM meet.


*when I say that a rivet counter counts the rivets on a model, that usually means the most noticeable ones. I have included some examples, but it doesn't generally mean counting to make sure that there are 238 rivets in that row. What it means is that if a certain feature or detail should have 3 rivets and the model has 2 or 4 or 5, that error is quite noticeable. Please see the examples below


**there are some things amiss with a few of the Proto 200 models, as time and the availability of information has shown, but in general, they raised the bar for what a freight car model and locomotive should be


Some Burlington XM-32 Modified 1937 AAR box cars had several distinctive features as highlighted below:


Soo Line and DSS&A Modified 1937 AAR box cars also had some distinctive features as highlighted below, plus square corner 5/5 Dreadnaught ends (highly unusual on the Modified 1937 AAR box car):


Friday, September 29, 2023

Modeling potpourri


A few months back, there was a collective gnashing of teeth over the discontinuation of Future/Pledge floor polish. I have a little less than half a bottle of Future and thought I had a reserve bottle of the Pledge product (the same thing as Future but rebranded by S C Johnson.) Alas, I did not. I have been using Future for over 20 years as a gloss coat and also to make clear parts (windows, canopies, etc.) appear clearer and in the process look thinner (yes, it has that effect!) I set about finding a replacement. The internet of military modelers had determined that Quick Shine was a good alternative. It was in stock at my local hardware store. I have tried it and can report that not only is it as good, it may even be better for two reasons: it seems thinner out of the bottle and does not have that subtle yellow cast that Future did. It brushes nicely and airbrushes perfectly with no additional thinning. Recommended!

For years, I have been using 240-grit aluminum oxide as the medium for blasting my models prior to painting. Honestly, I had never given it a second thought. However, some discussions online got me to revisit the subject. I ordered some 600-grit aluminum oxide and I can report that it delivers the same "tooth" to metal, engineering plastic, etc., surfaces with a little more finesse (more gentle) and it seems to be more efficient, too, meaning I used less of it for the same jobs. I will continue to stay with the 600-grit on future projects.

Lastly, I tried AMMO Mig acrylic paints for the first time. Like Vallejo, they come in the 17ml dropper bottles. They also have a wide range of colors, including many flavors of oxides/reds/browns that are useful for freight cars. They airbrushed flawlessly. I did thin with their thinner (which is my general habit as these things seemed to be engineered to work together and I don't like risking ill effects because I skimped on thinner.) The finish was something close to satin so I did apply gloss prior to decaling (using the Quick Shine mentioned above.) They are available in numerous military modeling shops.

I hope these things are useful to your efforts. Happy modeling!

Wednesday, September 27, 2023

Phoenix Rising, or new Speedwitch kits


CNW Riveted PS-1 Auto Car pilot model

While I will create individual posts for the new kits as I launch them, I do want to provide some context in advance of what I assume will generate a kerfuffle, albeit a small one (I hope!) As many noticed through the magic of others' photos from MARPM 2023, there are some new offerings coming from Speedwitch. The most immediate are as follows: CNW riveted PS-1 auto car, SP A-50-11 50' single sheathed steel auto car, Milwaukee 50' single sheathed auto car, Pullman-Standard Southeastern roads' 10'0" IH Emergency box car, and Santa Fe Bx-34 Duryea underframe parts set. The first four are complete kits with one-piece resin bodies. The Bx-34 includes a floor and underframe parts plus other details including ladders and placard and route card boards. There are other cars that will follow quickly upon the heels of these offerings.

B end of CNW PS-1 Auto car

The reason for this post is not necessarily to discuss these releases, but to share some information about the prices and how the kits will be released. First, a note about prices. These kits will be expensive relative to all other HO scale kits. That may be a dealbreaker for some and I completely understand. What I hope is that those who find them too expensive will respect my reasons and they are as follows. For years, my pricing philosophy was to always charge the least I felt that I could, given that resin kits already command a high price. However, I am not in a business where I have runs of 50,000 items and can secure profits through volume. I am in a highly specialized and niche market where ~100 of a car might be the entirety of sales. I am investing a lot of time in pattern creation and prep for production, decal artwork and decal printing with the acknowledged industry leader, etching artwork and processing, plus adding other items as will be described in the following paragraph. In other words, I am providing a premium product to replicate interesting prototypes as closely to the prototype as the scale and medium allows. I need to do this at a price that provides value to me and my suppliers for my efforts.

CNW PS-1 Auto car underframe

As alluded to, I am adding additional items that will allow for highly detailed replicas, down to the smallest details. All decals (except one instance where the decals were printed years ago) are printed by Cartograf, the finest provider in the industry. Even the smallest lettering is clear and legible and large decals, such as emblems and medallions are not "thick" and difficult to make conform to surface features. I am including trucks with 0.088" wheelsets where feasible, including working with providers on some trucks that have not been available in HO scale previously, except in poorly rendered brass or metal offerings, if at all. These will increase the accuracy of several kits. I am providing more etchings than anyone has in past to replicate details in the most accurate way possible. Kits feature the best details and parts that I can source such as parts from Kadee, Tangent, Tahoe, Moloco, Tichy, and others, where appropriate. I am set to provide everything necessary to complete the models except paint, weathering media, and things like chain, which will be called out should the modeler wish to add these details. 

Southern Pacific A-50-11 body casting

All kit offerings will follow a limited release plan, meaning that once they are gone, I will not re-release them again in future. Kit runs will be in the range of 100 kits (plus or minus depending upon subject and interest.) I realize this might be difficult for some, but I have determined from past experience that I can be more efficient if I produce an item, sell it, and move on to the next project.

Milwaukee Road single sheathed auto car body casting

Given the nature of limited runs, I will be introducing a subscription plan for those who are interested. There will be no upfront payments or deposits required. It will be non-binding, meaning you can opt out at any time or can opt out of specific individual offerings. When a new kit is released, it will be announced to subscribers first and those individuals will have 72 hours to decline. The remaining kits will be added to inventory and/or sold at meets and events. Should subscription interest outpace the ~100 kit number, I will reevaluate and likely increase the number of kits produced for that project, up to the maximum quantity of items such as decals and etchings that closely "match" the maximum number, roughly a cap of 150. [Please refrain from contacting me about subscriptions at present; I will provide details in the near future.] The CNW riveted PS-1 auto car will not be part of the subscription plan.

"Board-by-board" detail on Milwaukee Road auto car

Circling back to the cost, kits will be in the $75 to $90 range depending upon complexity and details necessary to complete the kit. Again, before lambasting me for the cost, please give some time to see what the offerings look like and what value is present. My intention is to provide a premium product that results in one of the finest models in your fleet, not just another car in the fleet. Watch for the release of the CNW riveted PS-1 auto car in the coming days...

Thank you for reading. As always, comments are welcome. Cheers, Ted

Tuesday, September 26, 2023

Mid-Atlantic RPM 2023


Tom Devenny redetailed, renumbered and weathered an Accurail hopper

I attended the Mid-Atlantic RPM on Friday and Saturday, September 15-16 in Hunt Valley, Maryland. As usual, the crew put together a great schedule of clinics at a top rate venue. Modelers obliged by bringing a bunch of fine models to display. I snapped photos of a few to share. Enjoy the fine work! [note that Jim Dufour also captured some of the work displayed and uploaded it to his flickr site.]

One of the hosts Shannon Crabtree had a train of RF&P hoppers on display

Jim Dufour brought a train's worth of finely detailed and weathered freight cars

Fenton Wells presented a clinic about kitbashing and displayed several of the subject cars, including this DT&I rebuild (Tichy base model) and the Norfolk Southern auto car shown below, kitbashed from an old McKean kit


Mike Pulaski displayed this finely weathered car

Randy Hamill displayed several passenger and headend cars with a high level of detailing 

Bill Schultheiss showed off a scratchbuilt (in-progress) B&M sand house

Toss Hermann had a few Ironton subjects for display including this caboose

Plate C had several 3D printed kits for sale, all well rendered


David Olsen had this Southern waffle side car to show

Louis Papineau used a Tichy car as the basis for the SCL stump car

Ramon Rhodes had a few models on display, including this nicely finished BNSF power

Not limited to resin freight cars, Bob Cronin showed off his vehicle modeling chops

John Flanigan IV lettered and weathered this WM Jordan spreader

Tom Potthast carried the S scale torch and had a lrge number of models to show

Eric Thur has been a one-man marketing department for MultiScale Digital and their amazing line of 3D printed loads

Eric also had some cars without visible loads, including this Proto2000 tank car with decals applied