
I have spent a fair amount of time over the past year in the northern Catskills of Greene County, NY, especially the area around Catskill, Athens, and Coxsackie* (cook-sahkee or "cook sake" as in cooking the Japanese wine,) NY. On one of my outings, I passed Railroad Avenue in Coxsackie on my way downtown and decided that sounded like a promising diversion. It was! I came upon the two structures shown herein, the largest being the old feed store and mill, known as Dean's Mill in its last iteration (Dean's Mill the business has moved to East Durham) and the smaller was "Geo. E. Van Vorst."
Coxsackie was on the West Shore Line which was part of several predecessor ventures that ultimately became part of the New York Central. For a brief history, you can visit this wikipedia page. Like much railroad history in the US, there were many players and several busts and acquisitions along the way. There is enough business in Coxsackie to make it an interesting switching layout/diorama or as part of a larger West Shore-themed layout. Gems like these are always worth a stop and I am sharing the images here in the hopes it might spur on someone's modeling efforts. Enjoy!
All images can be viewed in a larger format by clicking on the image
 |
| In this historic image, an early iteration of L. Bedell (later Dean's Mill) can be seen behind the station. The tracks are part of the West Shore Line |
 |
| 1920 Sanborn Map Co. Fire Insurance Map, Library of Congress. Note the red arrows pointing to the two structures/businesses that are the subject of this post, L. Bedell (later Dean's Mill) and Geo. E. Van Vorst. The map is oriented with north oriented down and left, as the arrow in the map indicates |


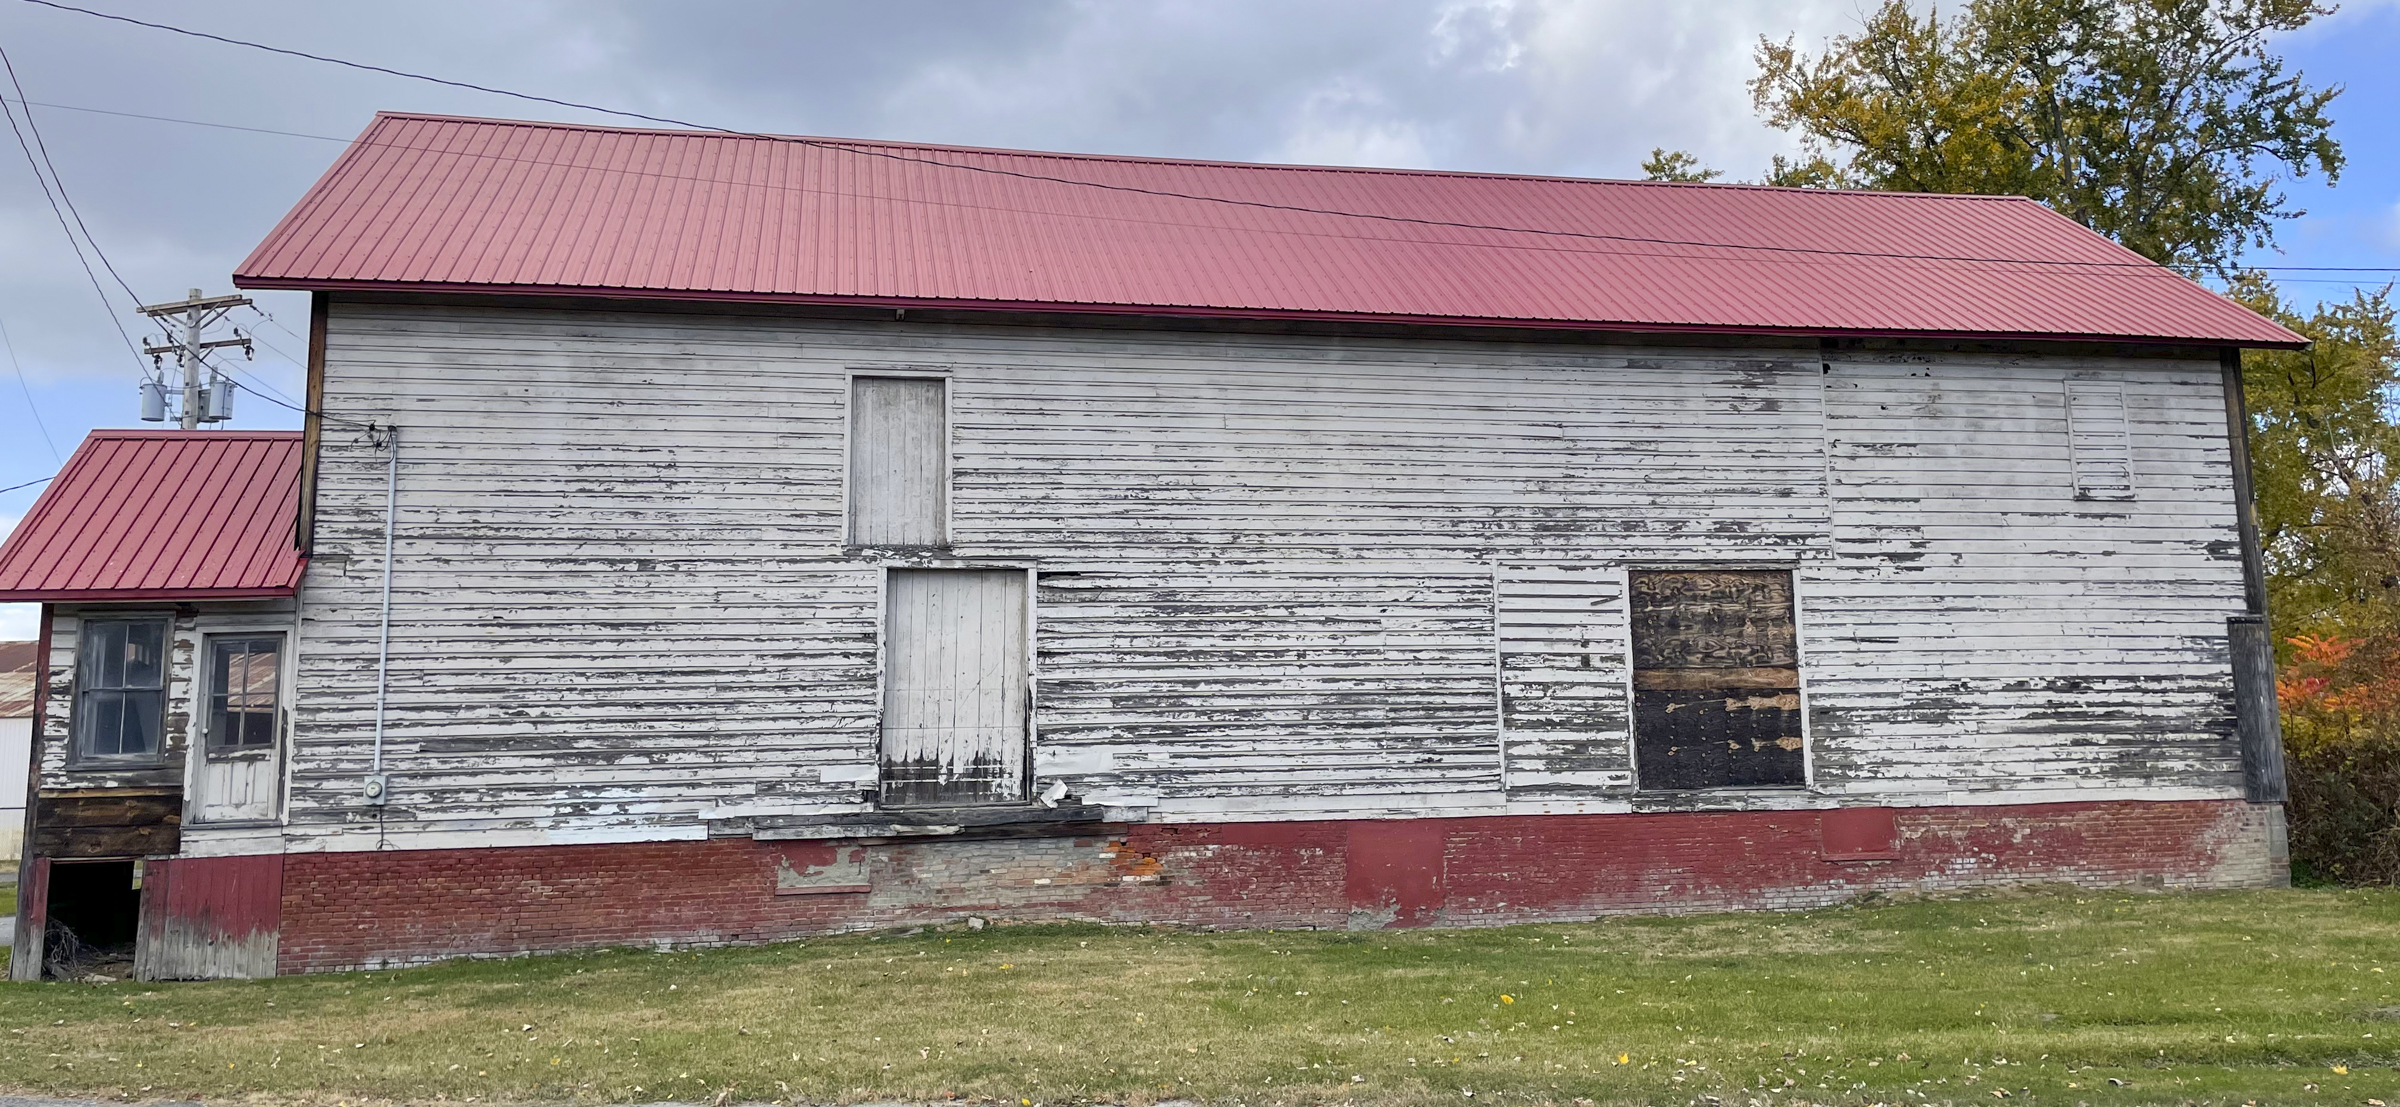 |
| This and the following images are of what is Geo. E. Van Vorst on the Sanborn map |


